Navigating the GST Landscape: An Introduction
Starting or running a business in India comes with its own set of rules and regulations, and at the forefront of this is the Goods and Services Tax (GST). If you’re a budding entrepreneur or an established business owner, the question of ‘gst number kaise le‘ (how to get a GST number) is one of the most critical you’ll face. This unique 15-digit identification number, known as GSTIN, is your key to becoming a legally recognized supplier, claiming tax benefits, and expanding your business operations seamlessly across the country. This guide is designed to demystify the entire process, providing you with a clear, step-by-step roadmap to obtaining your GST number without any hassle.
Understanding the nuances of business compliance can be daunting, but getting a GST number is a foundational step towards legitimacy and growth. We will walk you through everything from eligibility criteria and required documentation to the detailed online application process and post-application procedures. By the end of this article, you’ll have all the knowledge and confidence you need to answer the question ‘gst number kaise le’ for yourself.
Understanding Eligibility: Who Really Needs to Know ‘GST Number Kaise Le’?
Before you dive into the application process, it’s crucial to determine if you are required to register for GST. The government has laid out specific criteria. Ignoring these can lead to heavy penalties. Let’s break down who mandatorily needs a GSTIN.
Turnover-Based Registration
The most common criterion is your aggregate annual turnover. The thresholds are different for suppliers of goods and services:
- For Suppliers of Goods: If your annual aggregate turnover exceeds ₹40 lakh, you must register for GST. For Special Category States (like those in the North-East and hilly regions), this limit is ₹20 lakh.
- For Suppliers of Services: If your annual aggregate turnover exceeds ₹20 lakh, GST registration is mandatory. For Special Category States, this limit is ₹10 lakh.
Other Mandatory Registration Cases
Even if your turnover is below the threshold, you might still need to register for GST in certain situations. It’s essential to understand these special cases when figuring out gst number kaise le.
- Inter-State Suppliers: Any person who makes an inter-state taxable supply of goods or services, irrespective of their turnover.
- E-commerce Sellers: If you sell goods or services through an e-commerce platform (like Amazon, Flipkart), you must have a GSTIN from day one.
- Casual Taxable Person: Someone who occasionally undertakes transactions involving the supply of goods or services in a state or union territory where they have no fixed place of business.
- Reverse Charge Mechanism (RCM): Individuals who are required to pay tax under the reverse charge mechanism.
- Non-Resident Taxable Person: A non-resident who occasionally supplies goods or services in India.
Voluntary Registration
Even if you don’t fall into any of the mandatory categories, you can opt for voluntary GST registration. This allows you to claim Input Tax Credit (ITC), issue GST invoices to your customers, and enhance your business’s credibility.
Gather Your Documents: The First Step to ‘GST Number Kaise Le’
Being prepared with the right documents is half the battle won. The documentation required varies based on the legal structure of your business. Having these ready will make the online application process smooth and swift. Here’s a clear breakdown of the essential documents you’ll need.
For Sole Proprietorship / Individual
PAN Card: The owner’s PAN is essential.
Aadhaar Card: The owner’s Aadhaar card.
Photograph: A passport-sized photo of the owner (in JPEG format, max size 100 KB).
Bank Account Details: A scanned copy of a cancelled cheque or bank statement.
Address Proof: For the place of business, like an electricity bill, rent agreement, or ownership document.
For Partnership Firm / LLP
PAN Card of Firm/LLP: The PAN card issued in the name of the firm or LLP.
Partnership Deed / LLP Agreement: A copy of the legal agreement.
Partner Documents: PAN, Aadhaar, and photos of all designated partners.
Bank Account Details: Firm’s bank statement or cancelled cheque.
Address Proof: Proof of the principal place of business.
Authorization Letter: A letter authorizing one partner as the authorized signatory.
For Private/Public Limited Company
PAN Card of the Company: The company’s PAN is mandatory.
Certificate of Incorporation: Issued by the Ministry of Corporate Affairs (MCA).
MOA / AOA: Memorandum of Association / Articles of Association.
Director Documents: PAN, Aadhaar, and photos of all directors.
Bank Account Details: Company’s bank statement or cancelled cheque.
Address Proof: Proof of the registered office.
Board Resolution: A resolution passed by the Board of Directors appointing an authorized signatory.
The Core Process: Step-by-Step Guide on GST Number Kaise Le
Now, let’s get to the heart of the matter. The entire GST registration process is online, making it accessible to everyone. Follow these steps meticulously to get your GSTIN.
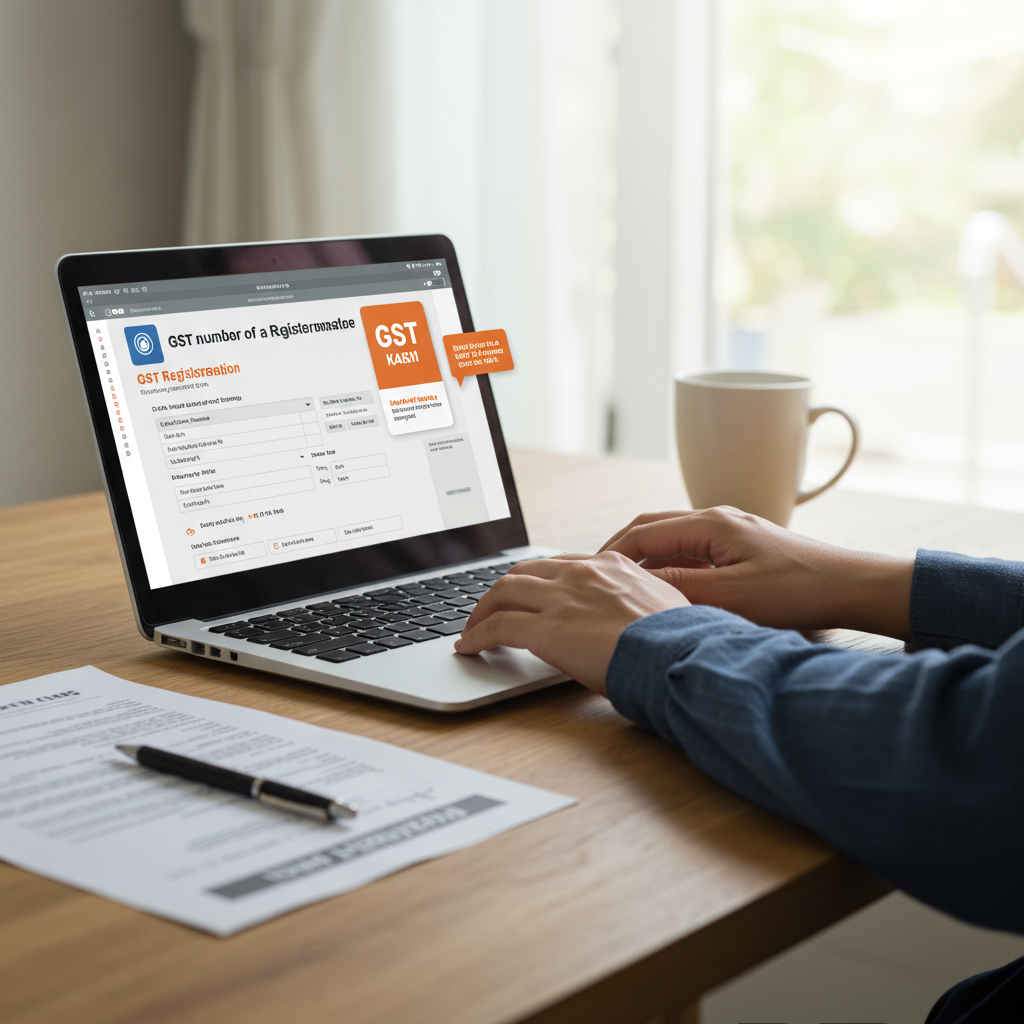
- Visit the Official GST Portal: The first step is to navigate to the official Indian GST portal: www.gst.gov.in. On the homepage, go to Services > Registration > New Registration.
- Generate a TRN (Part-A): You’ll start with Part A of the application. Here, you need to provide your basic details:
- Select ‘Taxpayer’ as the type of user.
- Enter your State, District, Legal Name of Business (as per PAN), and PAN.
- Provide an active email address and mobile number. These will be verified via OTP (One-Time Password).
- After successful OTP verification, you will receive a Temporary Reference Number (TRN) on your mobile and email. Save this number; you’ll need it for the next step.
- Complete Part-B of the Application: Go back to the GST portal homepage. This time, click on Services > Registration > New Registration and select the ‘Temporary Reference Number (TRN)’ option. Enter your TRN and the captcha, then proceed. You’ll receive another OTP on your registered mobile/email. After verification, you can start filling out Part B.
- Fill in Business Details: This section requires you to provide your trade name, constitution of business (Proprietorship, Partnership, etc.), and other related details.
- Promoter/Partner Details: Enter the personal details of the promoters, partners, or directors, including their identity information, address, and photograph. This is a crucial step in your quest to learn gst number kaise le.
- Authorized Signatory: Specify who will be the authorized signatory for your business. You can have multiple, but one must be designated as the primary authorized signatory.
- Principal Place of Business: Provide the full address of your main place of business and upload the corresponding address proof document (e.g., electricity bill, rent agreement).
- Details of Goods and Services: You must specify the top 5 goods or services you will be dealing in. You will need to find and enter their respective HSN (for goods) or SAC (for services) codes.
- Bank Account Details: Add the details of your business bank account. You will need to upload a copy of a cancelled cheque or the first page of your bank passbook/statement.
- Verification: The final step is to verify the application. This can be done through three methods:
- DSC (Digital Signature Certificate): Mandatory for Companies and LLPs.
- E-Signature: You can e-sign the application via an Aadhaar-based OTP.
- EVC (Electronic Verification Code): An OTP is sent to the registered mobile number.
- ARN Generation: Once you submit the application, an Application Reference Number (ARN) is generated and sent to your email and mobile. You can use this ARN to track the status of your application.
Common Pitfalls When You’re Learning ‘GST Number Kaise Le’
While the process is straightforward, applicants often make small mistakes that can cause delays or rejection. Be mindful of these common errors:
- Incorrect PAN Details: The name on the PAN must exactly match the name you enter in the application. Any mismatch will lead to validation errors.
- Address Proof Mismatch: The address on your proof document (like an electricity bill) must match the address entered in the application. Ensure the document is recent and in the name of the business owner or the business itself (if applicable).
- Unclear or Invalid Documents: Always upload clear, legible scans of your documents in the prescribed format (usually PDF or JPEG) and size.
- Wrong Jurisdiction: Selecting the incorrect State or Central jurisdiction can cause issues later. The portal usually auto-populates this, but it’s good to double-check.
After You Apply: What to Expect in Your ‘GST Number Kaise Le’ Journey
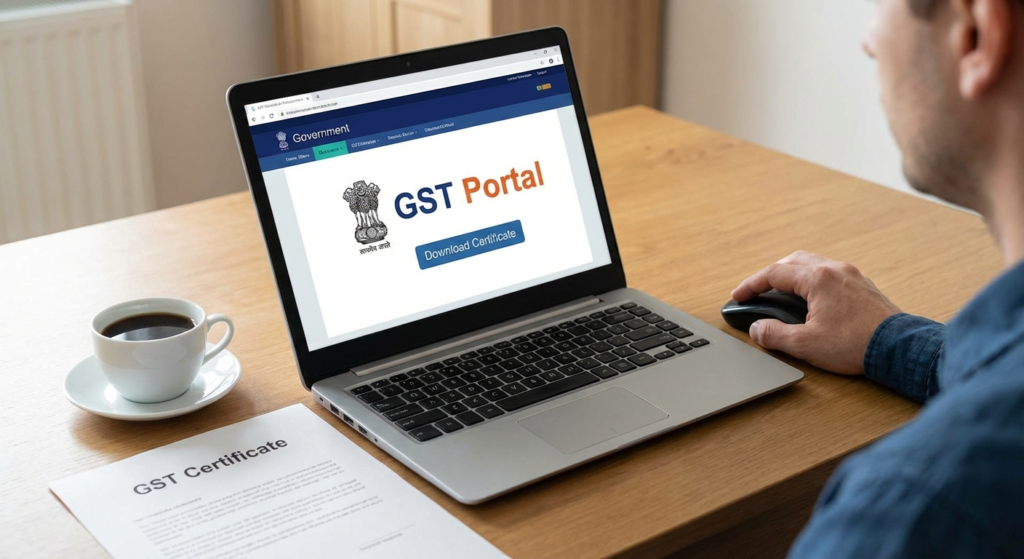
Submitting the application is not the end. A tax officer will review your application and documents. Typically, if everything is in order, you will receive your GST Registration Certificate (Form GST REG-06) and your GSTIN within 3 to 7 working days. You can download this certificate from the GST portal.
If the officer finds any discrepancies or requires more information, they will issue a Show Cause Notice (SCN) via email. You will have to respond to this notice and provide the required clarification or documents within the specified time frame (usually 7 working days). A prompt and accurate response is key to getting your application approved.
Why Go Through the ‘GST Number Kaise Le’ Process? Key Benefits
Obtaining a GSTIN is not just a legal formality; it’s a strategic business move that unlocks several benefits. It legitimizes your operations and paves the way for growth and scalability in the modern Indian economy.
Become a Legally Recognized Supplier
A GSTIN establishes your business as a credible and trustworthy entity. This helps in building stronger relationships with vendors and customers, as they can be assured of your compliance with tax laws.
Claim Input Tax Credit (ITC)
This is perhaps the biggest advantage. As a registered taxpayer, you can claim ITC on the GST you paid on your business purchases (inputs). This reduces your overall tax liability and lowers your operational costs.
Conduct Inter-State Business Freely
Without a GSTIN, you cannot legally conduct business across state borders. Registration opens up the entire country as your potential market, removing geographical barriers to your growth.
Sell on E-commerce Platforms
Major e-commerce marketplaces like Amazon and Flipkart mandate GST registration for their sellers. Having a GSTIN is your ticket to tapping into the massive online customer base and leveraging the power of digital commerce.
In conclusion, while the question ‘gst number kaise le’ might seem complex at first, the process is well-defined and manageable. By understanding the requirements, preparing your documents, and following the online steps carefully, you can secure your GSTIN and position your business for success. It’s a fundamental step towards transparency, compliance, and sustained growth in India’s dynamic economic environment. For more information on growing your business, check out resources like the Startup India portal.
FAQs on GST Number Kaise Le
Yes, GST registration is completely free. The government does not charge any fees for the application process on the official GST portal. However, if you choose to hire a professional like a Chartered Accountant or a tax consultant, you will have to pay their service fees.
If your application and all submitted documents are correct and in order, you can expect to receive your GSTIN and registration certificate within 3 to 7 working days. If the tax officer raises a query, the timeline may be extended depending on your response time.
Yes, you can use your home address as your principal place of business for GST registration, especially if you are a freelancer, consultant, or run a small business from home. You will need to provide valid address proof, such as an electricity bill along with a No Objection Certificate (NOC) from the property owner if it’s not in your name.
If a business is liable for GST registration but fails to do so, it can face heavy penalties. The penalty is 10% of the tax due or ₹10,000, whichever is higher. For cases of deliberate evasion, the penalty can be as high as 100% of the tax due.
A Digital Signature Certificate (DSC) is mandatory for certain types of businesses, specifically for Public Limited Companies, Private Limited Companies, and Limited Liability Partnerships (LLPs). For other entities like sole proprietorships and partnership firms, the application can be verified using an E-Signature (Aadhaar OTP) or EVC (Electronic Verification Code).