Filing your Income Tax Return (ITR) is only half the battle won. The crucial final step, often overlooked until the last minute, is the verification of the filed return. Without proper verification, your ITR is considered invalid, and the filing process remains incomplete. This guide delves into the precise ITR e verification steps required to successfully complete your tax filing obligations, ensuring your compliance is finalized quickly and securely.
The Income Tax Department mandates that all filed returns must be verified within 30 days of filing. Electronic verification (e-Verification) has streamlined this process dramatically, replacing the need to physically mail the ITR-V form (Acknowledgement) to Bengaluru. Understanding the various methods and mastering the correct ITR e verification steps is essential for every taxpayer.
Understanding the Importance of ITR e Verification Steps
E-verification is the digital signature confirming that the income details submitted in the ITR belong to the taxpayer who filed the return. If the return is not verified, whether electronically or physically, within the stipulated timeline (30 days from the date of filing), the return is deemed ‘Not Filed’. This can lead to penalties and the loss of benefits like claiming refunds or carrying forward losses.
The shift towards digital verification emphasizes efficiency and security. By following the correct ITR e verification steps, taxpayers receive faster processing of their returns and quicker issuance of refunds, if applicable.
Why Timely Verification Matters
- Validation: It validates the authenticity of the filed return.
- Processing: It allows the Central Processing Centre (CPC) to begin processing your return (usually resulting in the issuance of Intimation under Section 143(1)).
- Penalty Avoidance: Failure to verify within the deadline may require filing a belated return, potentially attracting penalties and loss of specific allowances.
Essential ITR e Verification Steps: Choosing Your Method
The Income Tax portal offers multiple ways to generate the Electronic Verification Code (EVC) or use an Aadhaar OTP to complete the verification process. Choosing the right method depends on your accessibility to services like Aadhaar, bank accounts, or Demat accounts. All these methods ultimately help you complete the required ITR e verification steps.
Method 1: Aadhaar OTP
The quickest and most common method. Requires the mobile number linked with Aadhaar to be active.
Method 2: EVC via Bank Account
Requires pre-validation of your bank account on the e-filing portal. EVC is sent to the registered mobile number/email.
Method 3: EVC via Demat Account
Similar to the bank account method, requires pre-validation of your Demat account details.
Method 4: Net Banking Login
Access the e-filing portal directly through your bank’s Net Banking service to generate the EVC instantly.
Detailed ITR e Verification Steps Using Aadhaar OTP
This is the most preferred method due to its instant nature, provided your Aadhaar is linked to your PAN and your mobile number is updated with UIDAI. These specific ITR e verification steps are crucial for quick compliance.
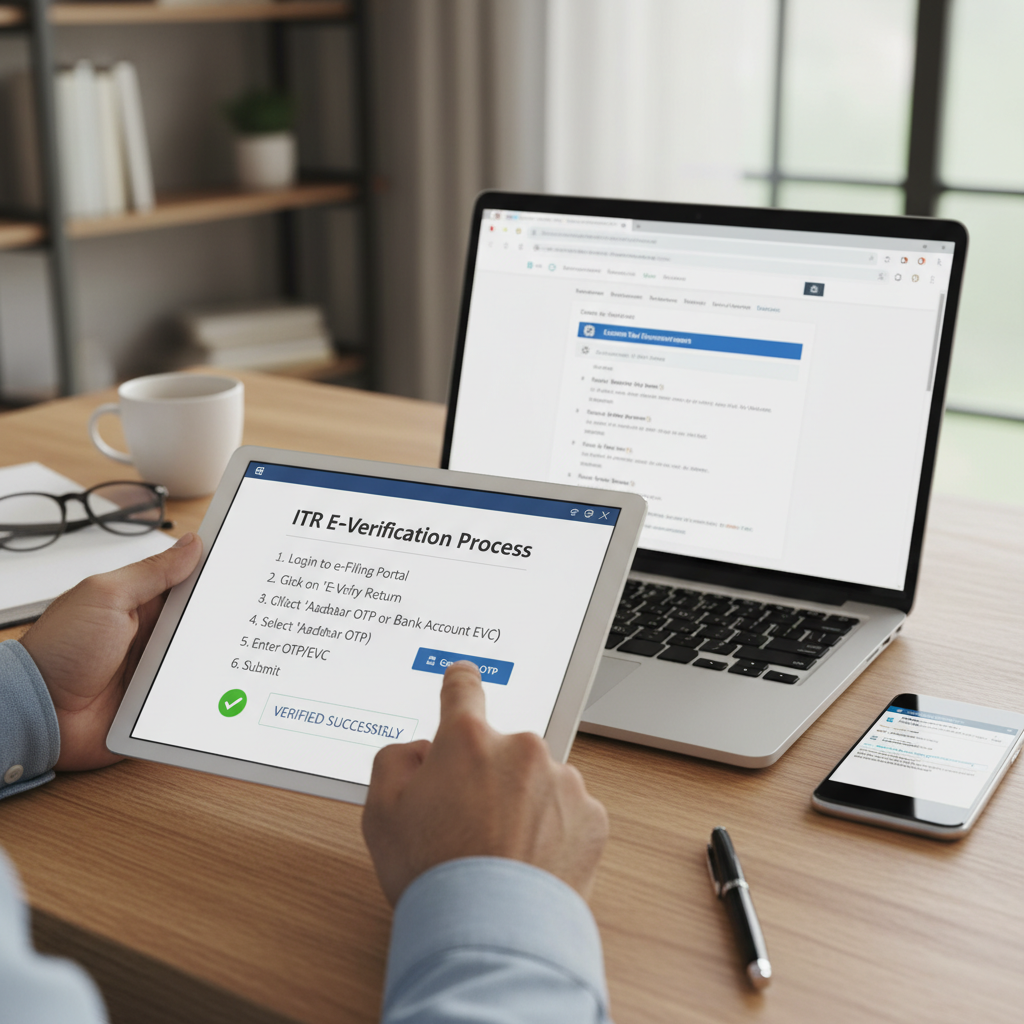
- Login to the e-Filing Portal: Navigate to the official Income Tax e-filing website (Income Tax India) and log in using your PAN/Aadhaar and password.
- Access Pending Actions: On the dashboard, go to ‘e-File’ > ‘Income Tax Returns’ > ‘View Filed Returns’. You will see the status ‘Pending for Verification’. Click ‘e-Verify’.
- Select Verification Option: Choose the option: “I would like to verify using OTP on Mobile number registered with Aadhaar”.
- Generate OTP: Click ‘Continue’. A six-digit OTP will be sent to the mobile number linked with your Aadhaar.
- Enter OTP: Enter the received OTP in the designated field. Note that this OTP is only valid for 15 minutes.
- Submission: Click ‘Verify’. A success message will appear confirming the completion of the e-verification process. You will also receive a confirmation email to your registered email ID.
Generating EVC through Bank Account Pre-Validation
If you prefer not to use Aadhaar OTP, generating the EVC through a pre-validated bank account is a secure alternative. Before you begin, ensure your bank account is pre-validated on the portal (where the name and PAN match the bank records). This process is integral to the overall ITR e verification steps.
Steps:
- Ensure your bank account is marked as ‘Validated’ on the e-filing portal under “My Profile” > “Bank Account Details”.
- Initiate the e-Verify process for the pending ITR.
- Select the option: “Generate EVC through Pre-validated Bank Account”.
- The EVC will be sent to the mobile number registered with the bank account.
- Enter the EVC on the portal to complete the verification.
The Complete ITR e Verification Steps Process Flow
While the method of verification changes, the overall flow of completing your tax obligations remains consistent. This structured approach helps in managing compliance efficiently, similar to managing critical tasks like GST return filing.
Stage 1: Preparation & Filing
Gathering documents and preparing the ITR form. Submitting the ITR using services like ITR Filing.
Stage 2: Verification Initiation
The ITR status changes to ‘Pending for Verification’. The 30-day clock starts ticking.
Stage 3: E-Verification Execution
Selecting one of the methods (Aadhaar OTP, EVC, etc.) and executing the chosen ITR e verification steps.
Stage 4: Confirmation & Processing
Receipt of the confirmation email. The status updates to ‘e-Verified’. CPC begins processing the return.
It is important to remember that verification is the legal confirmation of the data submitted. A verified ITR is treated as a valid submission under the Income Tax Act.
Prerequisites for Successful ITR e Verification
To avoid common pitfalls and ensure a smooth process, several conditions must be met before attempting the verification. These prerequisites expedite the ITR e verification steps significantly.
PAN-Aadhaar Linkage
If using Aadhaar OTP, ensure your PAN is successfully linked to your Aadhaar card. If not linked, this method will fail.
Active Mobile Number
The mobile number linked to Aadhaar (for OTP) or registered with the bank (for EVC) must be active and accessible to receive the verification code.
Pre-validated Accounts
If using bank or Demat EVC, ensure that these accounts are successfully pre-validated on the e-filing portal before initiating verification.
What Happens After Successful ITR e Verification?
Once you successfully complete the ITR e verification steps, the status of your return on the portal changes from “Pending for Verification” to “e-Verified.” This triggers the next phase: processing by the CPC.
The CPC checks the details provided against the data available with the Income Tax Department (like Form 26AS or Annual Information Statement – AIS). If there are no discrepancies, the return is processed, and the taxpayer receives an Intimation under Section 143(1).
“Successful e-verification marks the legal conclusion of the tax filing process. It is the digital acknowledgment that the return is accurate and ready for assessment.”
If a refund is due, processing the return is the precursor to the refund being credited to the pre-validated bank account. If there is a demand for tax, the intimation will specify the amount due.
Troubleshooting Common ITR e Verification Steps Issues
While the process is designed to be smooth, taxpayers sometimes face hurdles. Knowing how to troubleshoot these issues can prevent unnecessary delays, especially as the verification deadline approaches.
Issue 1: Aadhaar OTP Not Received
Cause: Often due to a mismatch between the mobile number registered with UIDAI and the number the taxpayer is currently using, or temporary network congestion.
Solution: Check your mobile number linked to Aadhaar on the UIDAI website. If the number is correct, wait a few minutes and try regenerating the OTP. If the issue persists, consider using an alternative method like EVC via a bank account.
Issue 2: Bank Account Pre-Validation Failure
Cause: Discrepancy in the name, PAN, or bank account number entered on the portal compared to bank records. Or, the bank server may be temporarily down.
Solution: Verify that your name on the bank records exactly matches your name on the PAN. If corrections are needed, update the details with your bank first, then re-initiate the pre-validation request on the e-filing portal. Sometimes, waiting a day resolves temporary server issues.
Issue 3: EVC/OTP Expired
Cause: Both Aadhaar OTP and EVC generated via bank or Demat accounts have a short validity period (usually 15 to 30 minutes).
Solution: If the code expires, simply go back to the verification screen and regenerate a new OTP or EVC. Always ensure you have a stable internet connection and access to your mobile device before starting the ITR e verification steps.
The Alternative: Physical Verification (ITR-V)
While electronic verification is heavily encouraged, taxpayers who cannot complete the ITR e verification steps must resort to physical verification. This involves printing, signing, and sending the ITR-V acknowledgement copy to the Central Processing Centre (CPC) in Bengaluru via ordinary or speed post within 30 days of filing.
It is crucial that the ITR-V is signed in blue ink only and is sent to the correct address:
- Address: Centralized Processing Centre, Income Tax Department, Bengaluru – 560500, Karnataka.
However, physical verification is slower, carries the risk of loss in transit, and delays the processing of the return. Therefore, e-verification remains the superior choice for modern tax compliance.
Summary of Key Verification Methods and Their Accessibility
Understanding which method is most suitable for you streamlines the process immensely. Here is a summary comparing the most accessible verification options:
Aadhaar OTP Method
- Speed: Instantaneous.
- Requirement: Mobile number linked to Aadhaar.
- Best For: Individuals who frequently update their Aadhaar details and require immediate verification.
Bank EVC Method
- Speed: Near instantaneous, provided pre-validation is complete.
- Requirement: Pre-validated bank account on the e-filing portal.
- Best For: Taxpayers who use Net Banking frequently and have successfully linked their bank account for refunds.
Regardless of the method chosen, consistency and adherence to the 30-day timeline are paramount. Failure to follow the correct procedure or meet the deadline means the taxpayer risks non-compliance, despite having successfully filed the initial return.
The Government continually emphasizes the importance of digital compliance. According to recent mandates, e-verification has become the default and preferred mode of verification, drastically reducing the reliance on the paper-based ITR-V system. (Source: Press Information Bureau regarding e-filing mandate updates).
Conclusion
Mastering the ITR e verification steps is the final, non-negotiable step in the tax filing journey. Whether you choose the speed of Aadhaar OTP or the security of the Bank EVC method, ensure you execute the chosen steps promptly and accurately within the 30-day window. Timely e-verification guarantees that your ITR is accepted as valid, leading to quicker processing, faster refunds, and full compliance with the Income Tax Department.
FAQs
The deadline for ITR e-verification is 30 days from the date the Income Tax Return (ITR) was electronically filed. If the verification is not completed within this period, the return will be treated as invalid and not filed.
Yes. If your mobile number is not linked to Aadhaar, you cannot use the Aadhaar OTP method. However, you can use alternative methods such as generating EVC through a pre-validated bank account, Demat account, Net Banking, or using a Digital Signature Certificate (DSC).
If the status remains ‘Pending for Verification’ after 30 days, your original ITR is deemed invalid. You will generally need to file a fresh ITR as a belated return (if the deadline permits) or file a revised return, subject to applicable penalties and restrictions under the Income Tax Act.
No, they are distinct methods. Aadhaar OTP uses the One-Time Password sent by UIDAI to the Aadhaar-registered mobile number. The EVC is a 10-digit alphanumeric code generated by the Income Tax portal, usually through pre-validated bank accounts, Demat accounts, or Net Banking, and is sent to the registered email/mobile number.
No. Once the e-verification is successfully completed, the process is finalized digitally, and you do not need to submit any physical document (like ITR-V) to the CPC Bengaluru. You should retain the verification confirmation for your records.
Read Also:
- Comprehensive Summary of Budget 2026: Key Highlights, Tax Reforms, and Economic Roadmap
- The Essential Guide to NITI Aayog NGO Darpan Registration Steps: Compliance and Accessing Government Grants
- Comprehensive Guide to the Key Features of Union Budget 2026: A Roadmap for Viksit Bharat
- Navigating the Budget 2026 Impact on Indirect Tax: A Strategic Guide for Businesses
- The Complete Guide to Seamless Section 8 Registration Online
- Internal Audit 2026: Is Your Company Ready?
- Stay Active: Your 2026 India ROC Checklist