Why Timely ITR e Verification Steps Are Crucial for Taxpayers
Filing your Income Tax Return (ITR) is only half the battle. To ensure your return is officially processed by the Income Tax Department (ITD), you must complete the mandatory verification process. In today’s digital environment, the most efficient and preferred method is electronic verification, commonly known as e-Verification.
Understanding the correct ITR e verification steps is non-negotiable. If you file your return but fail to verify it within the stipulated 30-day window, your ITR will be deemed “invalid” or “not filed.” This means penalties, potential interest charges, and delayed refunds. This comprehensive guide breaks down the essential methods and procedures to successfully complete your verification.
According to the official Income Tax guidelines, verification confirms the authenticity of the data submitted by the taxpayer. Without it, the filing process is incomplete, regardless of how accurately you completed the initial ITR Filing.
The Importance of Timely Verification
The deadline for verifying your ITR electronically is 30 days from the date of submission. Previously, taxpayers had 120 days, but this period was shortened to speed up processing and refund generation. Missing this window can lead to significant complications:
- Return Deemed Invalid: The ITD treats the return as if it was never filed.
- Late Filing Consequences: You may need to file a fresh return, potentially attracting late filing fees and interest under Section 234A.
- Delayed Refunds: If you are eligible for a refund, it will only be processed after successful verification.
Understanding the Primary Methods for ITR e Verification Steps
The Income Tax Department offers several flexible and secure methods for completing the ITR e verification steps. Taxpayers can choose the method that is most convenient for them. These methods generate an Electronic Verification Code (EVC) or use an Aadhaar-linked OTP (One-Time Password) to confirm identity.
Method 1: Aadhaar OTP
The quickest and most common method. Requires your mobile number to be linked with your Aadhaar and registered with the Income Tax portal.
Method 2: Bank Account EVC
EVC is generated through a pre-validated bank account. Ensure your bank account details are linked and validated on the e-Filing portal before attempting this.
Method 3: Net Banking Login
Verify by logging into your bank’s net banking portal and navigating to the “Income Tax e-Filing” option. This bypasses the need for OTPs.
Method 4: Demat Account EVC
Similar to the bank account method, an EVC can be generated if your Demat account is pre-validated with the e-Filing system.
Method 5: Offline Verification (ITR-V)
The non-electronic alternative. Print, sign, and send the physical ITR-V form to the Centralized Processing Centre (CPC) in Bengaluru via speed post.
Detailed ITR e Verification Steps Using Aadhaar OTP
The Aadhaar OTP method is highly favored due to its instant nature. It relies on the UIDAI database to confirm your identity. Here are the precise ITR e verification steps using Aadhaar:
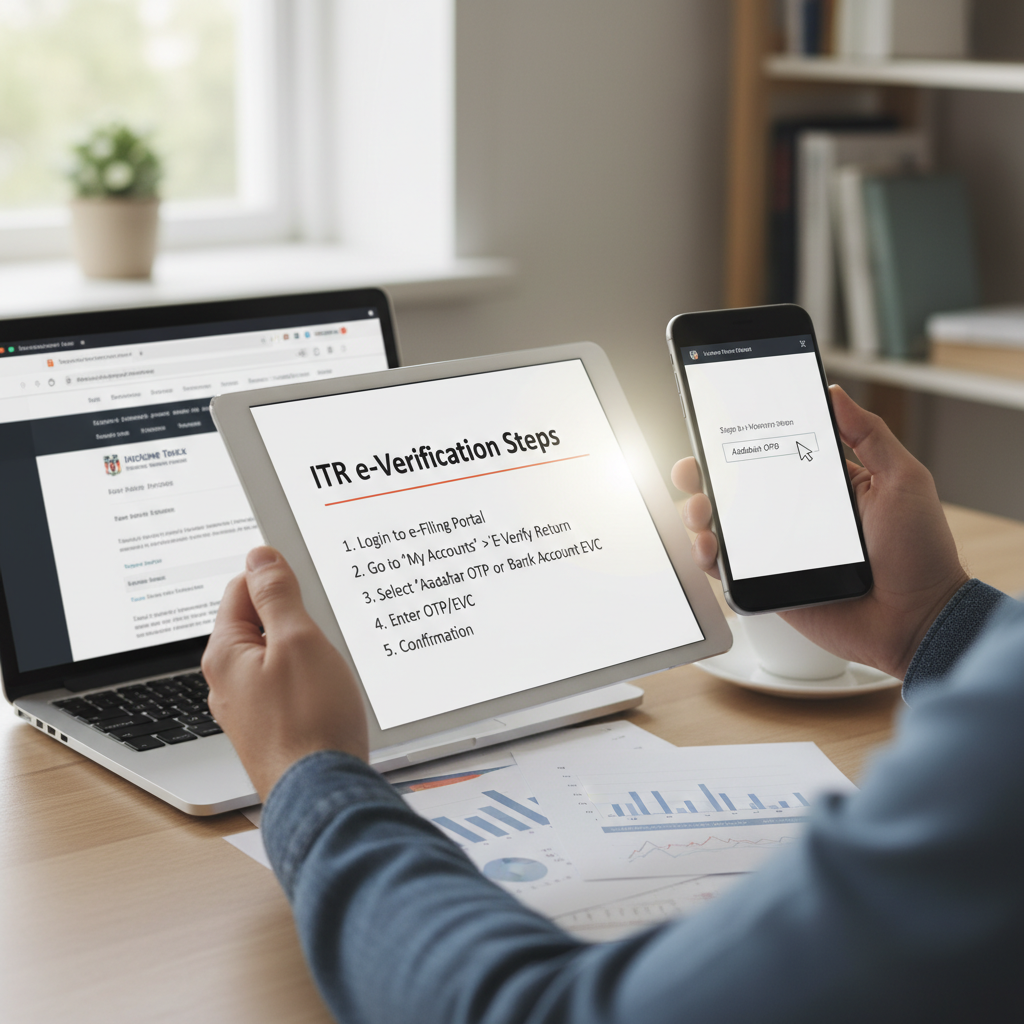
- Access the e-Filing Portal: Go to the official Income Tax e-Filing website.
- Login: Log in using your PAN, password, and captcha.
- Select Verification Option: Navigate to "e-File" > "Income Tax Returns" > "e-Verify Return".
- Choose Verification Method: Select "I would like to verify using OTP on mobile number registered with Aadhaar."
- Generate OTP: Click the "Generate Aadhaar OTP" button.
- Enter OTP: A six-digit OTP will be sent to the mobile number linked to your Aadhaar. Enter this OTP in the designated field within 15 minutes.
- Submit: Click "Validate."
Upon successful submission, you will receive a success message, and a confirmation email will be sent to your registered email address. The verification process is instantly completed.
Step-by-Step Guide: How to Complete ITR e Verification Steps via Bank Account EVC
If you prefer not to use Aadhaar OTP or if your mobile number is not updated in the UIDAI records, using a pre-validated bank account to generate the Electronic Verification Code (EVC) is an excellent alternative. Before attempting this, ensure your bank account is pre-validated on the e-Filing portal. This validation process confirms the account holder’s name matches the PAN holder’s name.
Phase 1: Pre-Validation Check
Before initiating the EVC generation, check the status of your bank account under "Profile" > "My Bank Accounts". The status must show “Validated.” If it is not validated, you must initiate the validation process, which may take up to 24-48 hours, depending on the bank.
Phase 2: Generating EVC via Bank Account
- Initiate e-Verify: Follow steps 1-3 from the Aadhaar method (e-File > e-Verify Return).
- Choose EVC Method: Select the option: "I would like to verify using Electronic Verification Code (EVC)".
- Select Bank: Choose the pre-validated bank account from the dropdown list.
- Receive EVC: The Income Tax portal will generate an EVC and send it directly to the mobile number and email ID registered with that specific bank account.
- Enter and Submit: Enter the EVC received within the expiry period (usually 72 hours) and click “Submit.”
It is important to note that the EVC generated via the bank account is generally valid for a specific period, allowing you flexibility if you cannot verify immediately.
Using Demat Account EVC
For individuals who actively trade or hold securities, the Demat Account method offers another reliable route. Similar to the bank account method, the Demat account details (DP ID and Client ID) must be pre-validated on the e-Filing portal. Once validated, you can generate an EVC that is sent to the mobile number and email associated with your Demat account.
This method is highly secure as it uses dual authentication – linking the verification to both your income tax identity and your financial investment identity.
Comparing Electronic Verification Methods
Choosing the right method depends on preparation and accessibility. Here is a quick comparison of the most popular electronic ITR e verification steps:
Aadhaar OTP Method
- Speed: Instantaneous.
- Requirement: Mobile number must be linked to Aadhaar and updated in UIDAI records.
- Security: High, relies on government biometric data association.
- Best For: Taxpayers with updated Aadhaar records seeking immediate verification.
Bank Account EVC Method
- Speed: Near-instant, provided the account is pre-validated.
- Requirement: Bank account must be pre-validated on the e-Filing portal.
- Security: High, relies on banking security infrastructure.
- Best For: Taxpayers whose bank account details are readily available and validated.
Net Banking Method
- Speed: Instant, no EVC required.
- Requirement: Login credentials for a bank that supports direct e-Filing access.
- Security: Extremely high, uses bank login credentials.
- Best For: Users who frequently use net banking and prefer not to deal with OTPs or EVCs.
Troubleshooting Common Issues During ITR e Verification Steps
Even with the best preparation, taxpayers sometimes encounter hurdles during the verification process. Knowing how to quickly resolve these issues is vital to meeting the 30-day deadline.
“The transition to digital verification has significantly streamlined the tax process, but proper preparation—especially ensuring mobile numbers and bank accounts are linked correctly—is the key to avoiding last-minute verification failure,” says a commonly quoted expert view on Indian taxation laws.
If you are struggling with any aspect of Indian taxation laws, professional assistance can ensure compliance.
Issue 1: Aadhaar OTP Not Received
Cause: Mobile number is not updated in Aadhaar records or registered incorrectly on the e-Filing portal.
Solution: Check your registered mobile number on the UIDAI website. If incorrect, update it at an Aadhaar enrollment center. Alternatively, use the Net Banking or Bank EVC method.
Issue 2: Bank Account Not Validated
Cause: Details like name, IFSC, or account number do not match the ITD records, or the pre-validation request is still pending.
Solution: Re-submit the pre-validation request, ensuring the details match your PAN records exactly. Wait for the “Validated” status before trying to generate EVC. Use the Aadhaar OTP method in the interim if the deadline is near.
Issue 3: EVC Expiration
Cause: The EVC, once generated, has a limited validity period (e.g., 72 hours).
Solution: Do not use an expired EVC. Simply generate a new EVC if the previous one has timed out. The system allows multiple EVC generations.
What Happens If You Miss the Deadline?
If the 30-day deadline for completing the ITR e verification steps is missed, the consequences are severe. Your original ITR filing is treated as null and void. The only recourse is to request condonation of delay from the Income Tax authorities, which is granted only under exceptional circumstances, such as hospitalization or extreme technical failure documented by the taxpayer.
If condonation is not granted, you will be required to file a belated return (if the deadline permits) or face prosecution for non-filing. This underscores why proactive verification is far safer than relying on last-minute procedures.
For official guidance on the statutory requirements for filing and verification, always refer to the Income Tax Department’s official e-filing portal.
Furthermore, the Central Board of Direct Taxes (CBDT) emphasizes the importance of digital compliance. They frequently issue circulars outlining verification procedures and deadlines, ensuring transparency and ease of compliance for taxpayers across the nation. Consulting official government publications, such as those found on the India Budget website, can provide clarity on evolving regulations.
Conclusion
E-Verification is the final, essential stage of the tax filing cycle. By mastering the ITR e verification steps – whether through the instant Aadhaar OTP, the secure Bank EVC, or the convenient Net Banking route – you ensure your compliance is complete, your return is processed quickly, and any eligible refunds are disbursed without delay. Always prioritize verification immediately after filing your ITR to avoid the stringent 30-day deadline and the potential repercussions of an invalid return.
FAQs
The ITR must be e-verified within 30 days of the date of filing the Income Tax Return. Failure to meet this deadline will render your ITR invalid, and it will be treated as if you never filed the return.
No. To use the Electronic Verification Code (EVC) method via a bank account, the account must first be pre-validated on the Income Tax e-Filing portal. This process ensures that the PAN holder’s name matches the account holder’s name, confirming identity.
If the Aadhaar OTP fails, first ensure that the mobile number linked to your Aadhaar is the one receiving the OTP. If the issue persists, you should switch to an alternative method, such as Net Banking login or EVC generation through a pre-validated bank account or Demat account.
E-verification is the mandatory and preferred digital method. However, physical verification (sending the signed ITR-V form to CPC, Bengaluru) is still an option for taxpayers who cannot complete the electronic steps. If choosing the physical route, the ITR-V must reach the CPC within 30 days of filing.
You can check the verification status by logging into the e-Filing portal, navigating to ‘e-File’ > ‘Income Tax Returns’ > ‘View Filed Returns’. If verification is complete, the status will show ‘Verified’. If pending, it will show ‘Pending for Verification’.
Read Also:
- Decoding the Private Company Registration Cost: A Comprehensive Breakdown of Fees and Charges
- The Comprehensive Guide to Income Tax Return Filing: Step-by-Step E-Filing Process and Essential Checklist
- The Ultimate GST Return Filing Guide: Essential Steps, Forms, and Compliance Checklist
- The Comprehensive Guide to Obtaining and Using TAN for TDS Filing Compliance